How easy is it to replace a fence?
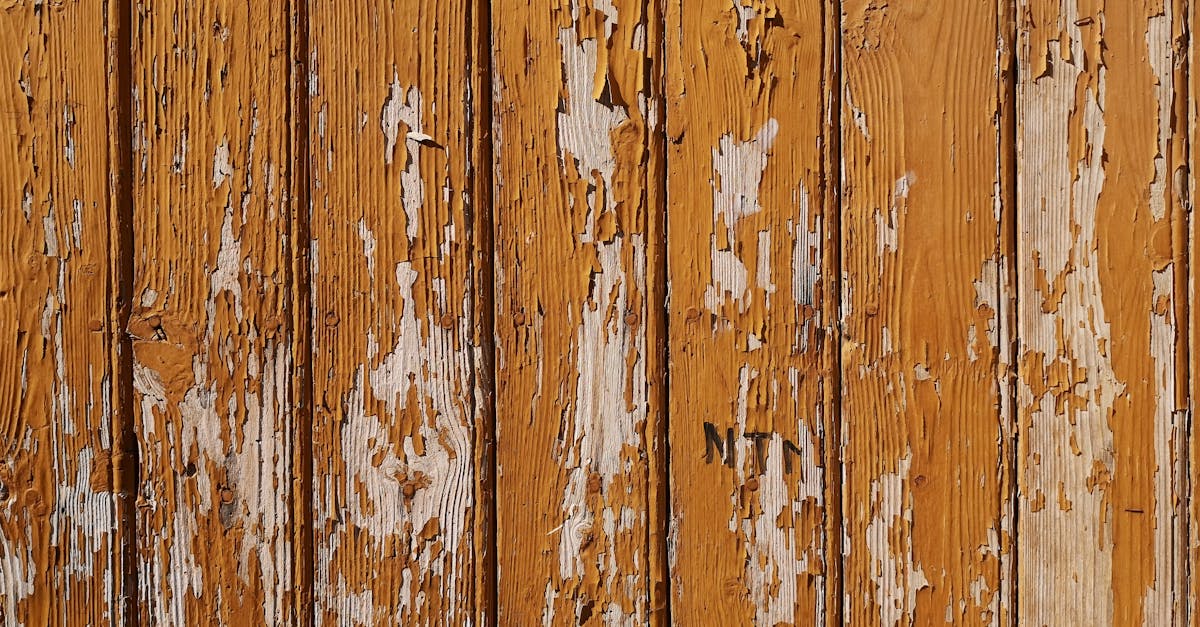
Table Of Contents
Removing the Existing Fence
Before starting the process of installing a new fence, one of the initial steps is to remove the existing fence. This step can vary in complexity depending on the type of fence being replaced. Fence panel replacement is relatively straightforward for fences consisting of individual panels, as they can be unscrewed or pried off relatively easily. Care should be taken during the removal process to avoid damaging surrounding structures or plants.
For fences composed of interconnected components like chain link or timber slats, dismantling may require more time and effort. Tools such as pliers, wire cutters, and pry bars can be useful in disassembling these types of fences. Ensuring safety during the removal process is paramount, as sharp edges or protruding nails can pose hazards. Once the existing fence has been completely disassembled, the next step is to dispose of the old materials properly to make way for the new fence installation.
Disposing of Old Materials Properly
Disposing of old materials properly during a fence panel replacement is essential for environmental sustainability and safety. It is crucial to consider recycling options or contacting local waste management facilities to ensure that the materials are disposed of in an eco-friendly manner. By employing responsible disposal methods, you contribute to reducing landfill waste and preserving the environment for future generations.
Moreover, if the old fence materials are in good condition, consider donating them to community organizations or individuals in need. This not only reduces waste but also provides an opportunity for others to repurpose the materials for their own projects. By taking the extra step to dispose of old materials thoughtfully, you contribute to a more sustainable approach to fence panel replacement.
Installing the New Fence
Installing the new fence involves a series of steps to ensure a sturdy and aesthetically pleasing structure. Fence panel replacement requires careful attention to detail and the use of appropriate tools. First, position the first fence panel between the installed posts, ensuring it is level and securely attached. Next, attach the panel using nails or screws, depending on the material of the fence.
Continue by placing the subsequent panels next to the first one and securing them in place. It is essential to maintain a uniform height and alignment throughout the installation process to achieve a professional finish. Once all panels are in position, add any finishing touches such as decorative caps or trim to enhance the overall appearance of the new fence.
Securing Posts, Attaching Panels, and Finishing Touches
Securing posts is a crucial step in the fence panel replacement process. Make sure the posts are firmly anchored into the ground to provide stability for the entire fence structure. Use a spirit level to ensure the posts are straight and plumb before securing them in place with concrete. Once the posts are securely in position, proceed to attach the fence panels. Begin by carefully placing each panel between the posts, ensuring they are evenly spaced for a uniform look. Secure the panels to the posts using appropriate screws or nails, depending on the type of fence you have chosen.
After attaching the panels, focus on the finishing touches to enhance the aesthetics and durability of your new fence. Consider adding decorative elements such as post caps or trim to give your fence a polished look. Additionally, apply a weatherproof sealant or paint to protect the wood from harsh environmental conditions and extend its lifespan. By completing these final steps with precision and care, you can enjoy a newly replaced fence that not only enhances the appearance of your property but also provides security and privacy for years to come.
Applying a Protective Finish
When considering a protective finish for your new fence, it is essential to remember that a well-applied coating can significantly extend the life of the structure. Choosing the right finish is crucial to ensure the fence withstands the harsh outdoor elements. Fence panel replacement can be a time-consuming and expensive task if the new fence is not adequately protected. Therefore, it is recommended to opt for a finish that offers both aesthetic appeal and durability.
Staining, painting, or treating the new fence are common methods to shield the wood from weathering and decay. Stains penetrate the wood and enhance its natural beauty while providing excellent protection against moisture. On the other hand, paint offers a broader range of color choices and creates a more uniform appearance. Treating the wood with preservatives is another effective way to safeguard it against rot, fungi, and insects. When applying a protective finish to your fence, consider factors such as the type of wood and the climate in your area to ensure long-lasting protection.
Staining, Painting, or Treating the New Fence
Once the new fence is in place, the next step is to consider staining, painting, or treating the surface. This step not only enhances the aesthetics of the fence but also adds a layer of protection against the elements. Depending on the material of the fence and personal preferences, there are various options available to consider for this final touch in the Fence panel replacement process.
Staining is a popular choice for wooden fences as it accentuates the natural beauty of the wood while providing durability. Opting for a stain allows the wood grain to show through, giving the fence a warm and inviting appearance. On the other hand, painting offers versatility in terms of colour options, allowing homeowners to match the fence to their house or garden aesthetic. Lastly, treating the fence with a sealant or protective finish can help prolong its lifespan by safeguarding against rot, insect damage, and UV rays.
FAQS
How long does it typically take to replace a fence?
The time it takes to replace a fence can vary depending on the size of the area, the type of materials being used, and any obstacles that may need to be navigated during the process. On average, replacing a fence can take anywhere from a few days to a week.
Do I need any special tools to replace a fence?
While basic tools like a hammer, saw, drill, and level are essential for replacing a fence, you may also need specific tools depending on the type of fence you are installing. It's always a good idea to consult with a professional or the manufacturer for any specialized tools required.
Can I replace a fence by myself, or do I need to hire a professional?
Whether you can replace a fence by yourself or need to hire a professional depends on your level of experience, the complexity of the fence design, and local regulations. Simple fence replacements with standard materials can often be done by homeowners, but for more intricate designs or if you're unsure, it's best to seek professional help.
What are some common mistakes to avoid when replacing a fence?
Some common mistakes to avoid when replacing a fence include not properly measuring the area, using incorrect materials for the climate, failing to secure posts properly, and neglecting to check local regulations and property lines. It's crucial to plan ahead, follow instructions carefully, and double-check your work to avoid costly errors.
How can I maintain my new fence to ensure its longevity?
To maintain your new fence and ensure its longevity, regular inspections, cleaning, and applying a protective finish are essential. Depending on the material of your fence, you may need to stain, paint, or treat it periodically to protect it from weathering and wear. Consulting with the manufacturer for specific maintenance recommendations is also recommended.
Related Links
Fence panel replacementCan you replace one fence panel?
Is it cheaper to buy fence panels?